Perfect Instant Pot Yogurt: Cold Start Method
Don’t let the thought of making homemade yogurt intimidate you. When I first got my Instant Pot a couple of years ago, I was scared of it at first. I had never even used a pressure cooker before, and it just seemed so big and scary. I let it sit there for several days before I finally mustered up the courage to use it, and I realized it wasn’t hard at all. Now I have two Instant Pot’s and use them weekly.
We used to buy yogurt from the grocery store every single week for Dustin to take to work with his lunch, and I would occasionally eat it too. One day, I decided I was going to try making it in my Instant Pot. I ordered some yogurt starter from Amazon, and then when it came in, I got intimidated all over again after reading the instructions. Guess what I did? I put the yogurt starter away in the pantry, and never looked at it again.
Earlier this year, I did some more research on how to make it in my Instant Pot. I was thinking there had to be an easier way to do it considering my IP has a “Yogurt” button, and there is an easier way! The yogurt button is magical. With as little as 2-3 ingredients and the push of a button (that magical yogurt button), you can have homemade, fresh yogurt. Not only does it taste better than store bought, but it will also save you money, especially if you’re like us and like to keep yogurt in the refrigerator at all times.
There are two methods to making yogurt: the boil method and the cold start method.
I’m going to teach you the cold start method, because 1. it’s easy, and 2. it’s EASY! I have enough going on in my life as it is, and I don’t need to add boiling milk and testing temperatures to my list.
Now, if you want to make IP yogurt like this, you’re going to need an IP that has the yogurt button. Otherwise, you will have to make it using the other method as far as I know, and I know nothing about that method, because I’ve never tried it myself. Like I said before, this way is easy, and I will make it like this forever and ever.
This is the IP I have and you can pick from 3 sizes. They all have the yogurt button.

The biggest thing you need to know when making yogurt using the cold start method, is that you need to use an Ultra-filtered milk. All this means, is the milk has undergone a filtration process to remove bacteria. This is why you need this kind of milk for the cold start method. If you were to use regular milk, you would have to pasteurize it yourself to remove any bacteria. Who wants to do that? Not me.
What ingredients do you need for IP Yogurt?
- Ultra-filtered milk (I use Fairlife)
- Starter yogurt (I use Chobani)
- Sweetened Condensed Milk (optional)
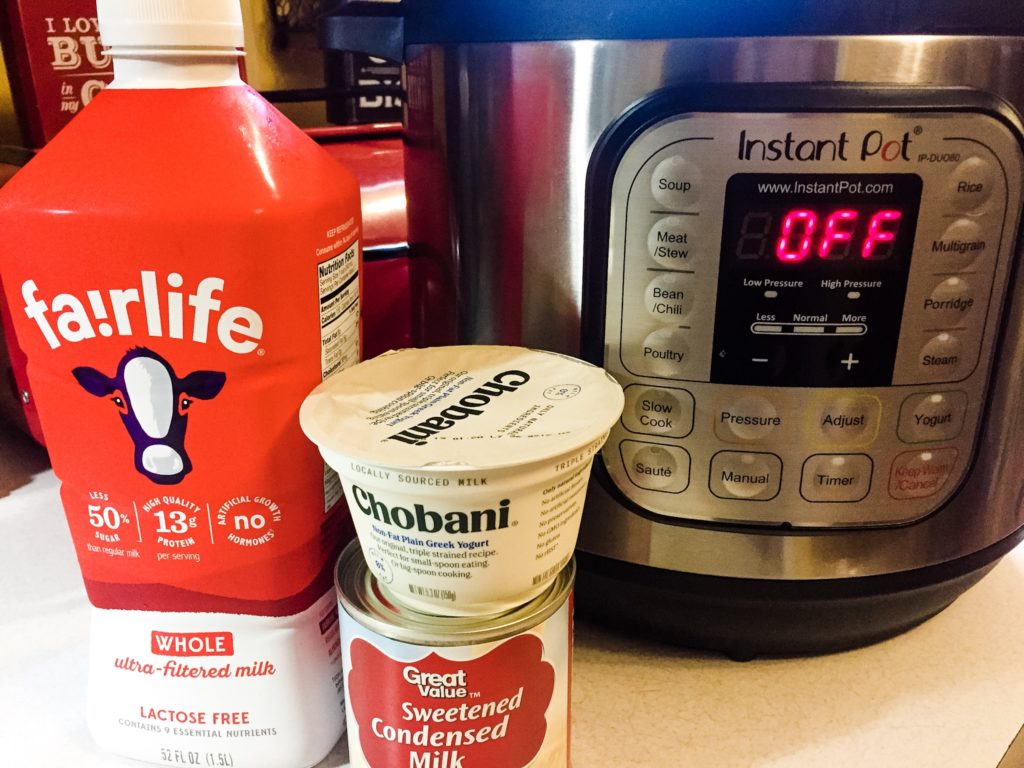
My favorite milk to use for this is Fairlife Whole Ultra-filtered Milk. It actually has better benefits than using regular milk, because it is:
- Lactose free
- 50% less sugar
- 30% more calcium
- 20% more vitamin D
- 50% more protein
For the starter yogurt, I use a plain non-fat greek yogurt for the first batch. What I’m about to tell you next is very important. Your yogurt starter has to contain LIVE ACTIVE CULTURES in it. It will tell you on the container. Otherwise, this won’t work. All you need is two heaping tablespoons, so one container is plenty.
Once you start making your own yogurt, you won’t need to buy the yogurt anymore for following batches. You will be able to reserve your two tablespoons of “starter yogurt” from the homemade yogurt you make.
Lastly, you need sweetened condensed milk. Well, you don’t need it, but it sure does make it taste better. I have made it both with and without it, and we liked it better with it. If you want your yogurt to be healthier, you can absolutely make it without, and then add your own sweetener to it as you eat it (like honey or fruit preserves).
Here are the easy steps to making your own yogurt:
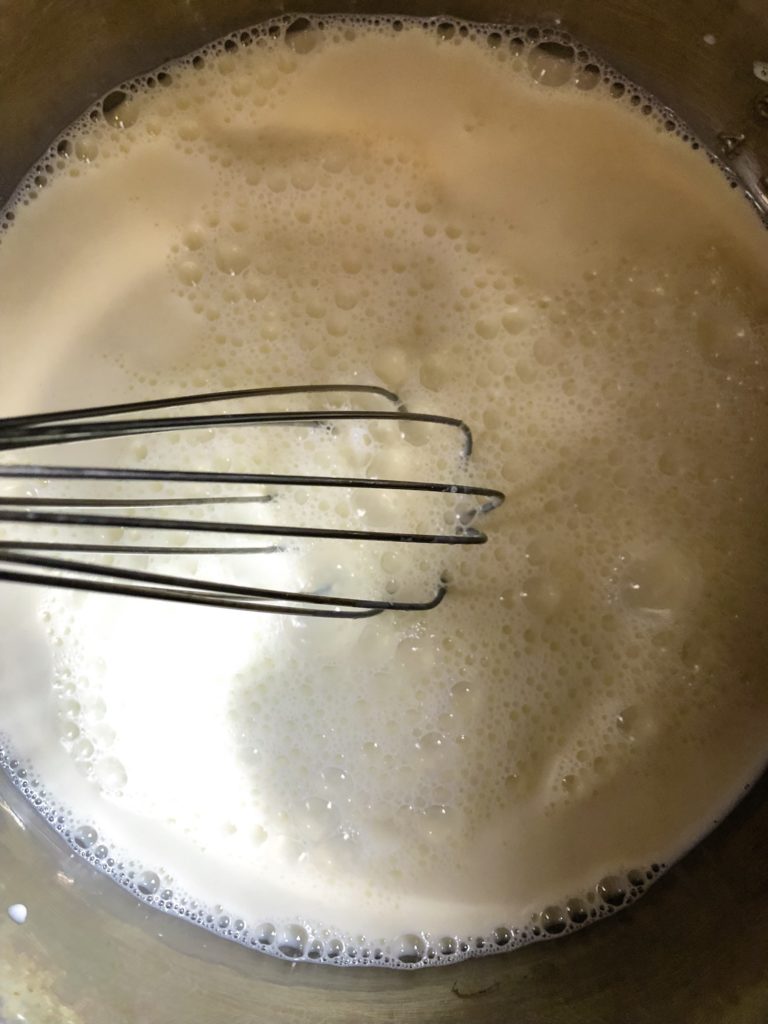
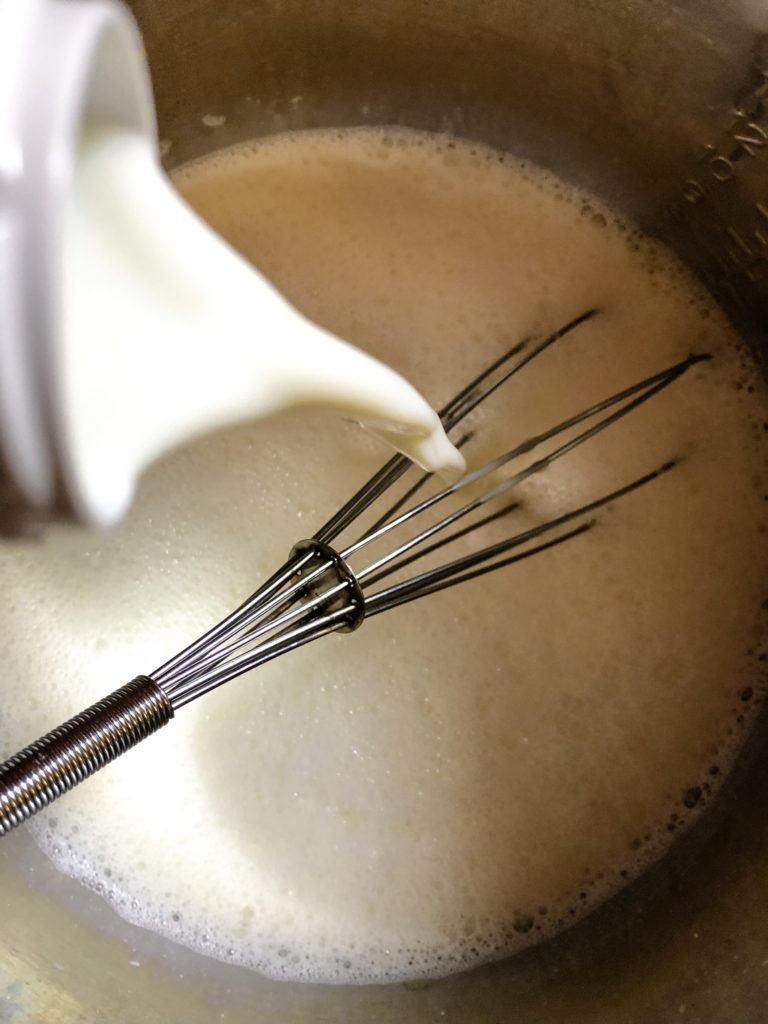
Mix 2 heaping tablespoons of your starter yogurt with a little Fairlife milk (or whatever ultra-filtered milk you’re using). You can do this in your IP or in a small bowl. Whisk very well so that there aren’t any lumps left. This will give you extra creamy, and smooth yogurt. If you don’t get all of the lumps out while mixing, you will end up with a gritty texture in your yogurt.
Once it’s whisked, pour it into your instant pot (if mixed in a separate bowl) along with the rest of your milk.
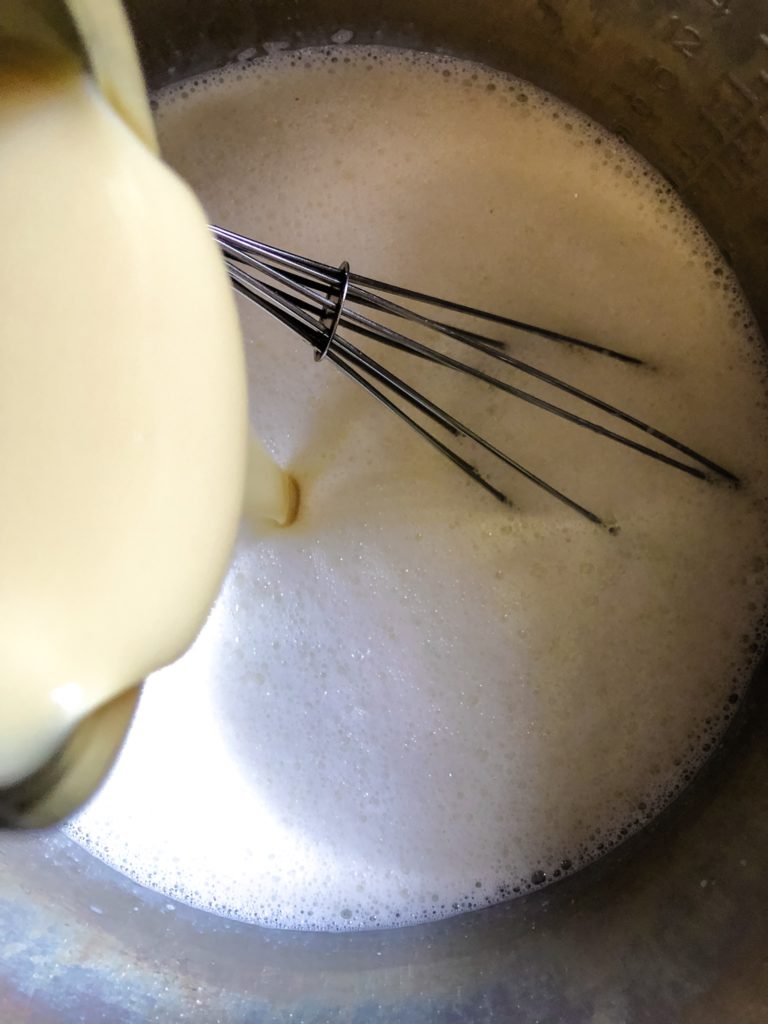
Pour the can of sweetened condensed milk into the pot with your milk/yogurt mixture. I pour the whole can, but you can only pour half of the can if that makes you feel better. I have no shame, so the whole can goes in! Remember, this step is optional (but I highly recommend it….SCM is YUM!) Whisk everything together very well. It will be very foamy.
Put the lid on your instant pot. You can also use a regular pot lid that fits if you’d like. We are not pressure cooking here, so you don’t have to set your IP lid to “sealing.” I just use a glass lid from another pot I have.
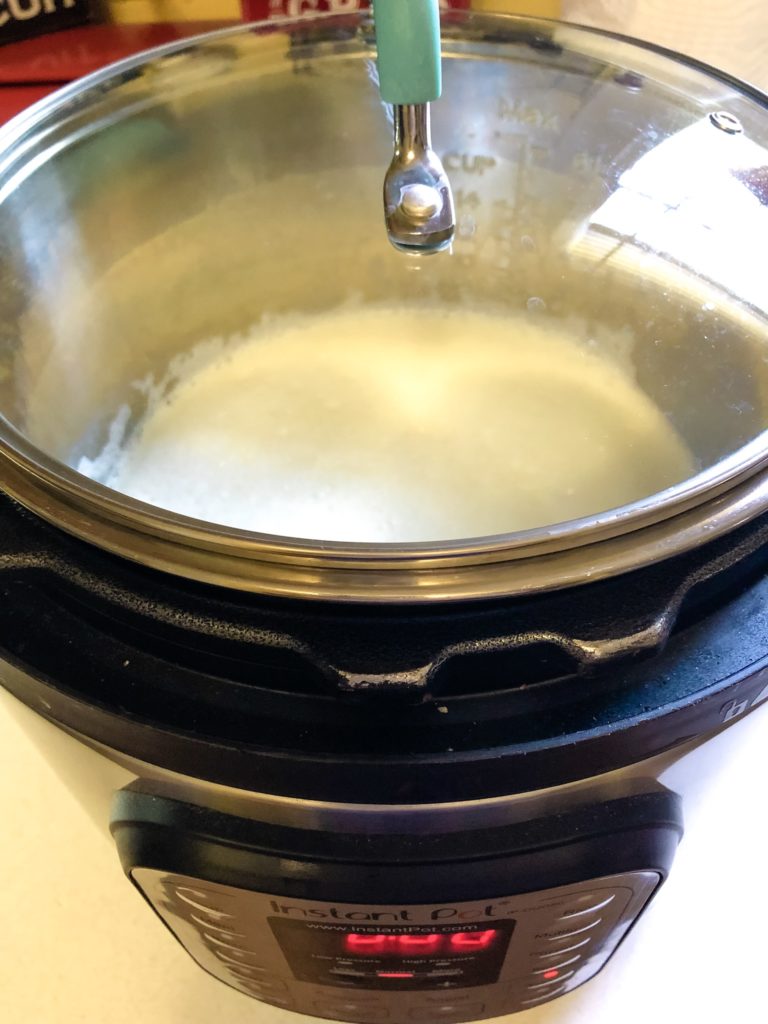
Hit the yogurt button on your IP. It should automatically show 8 hours on the timer. You can adjust this if you would like. The longer you set it for, the more tart it will taste. I just always leave mine on the 8 hours and walk away.
That’s it! When it’s done, your IP will beep and show an abbreviation for the word yogurt, letting you know it is finished.
We are not finished yet, though. Once the timer goes off, remove the lid and add a layer of paper towels across the top and put the lid back on over it (this will help absorb any condensation as it cools). Set it in the fridge and leave it overnight so it has time to cool and set.

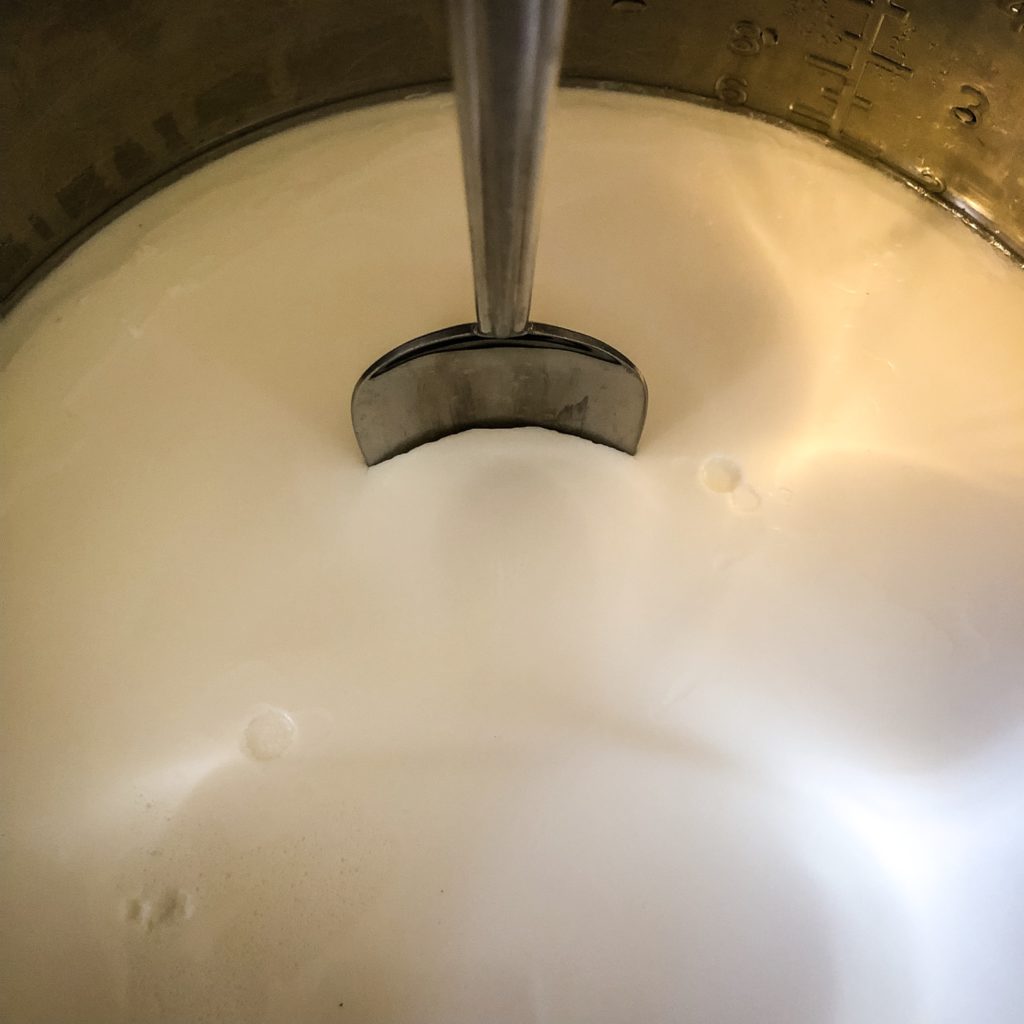
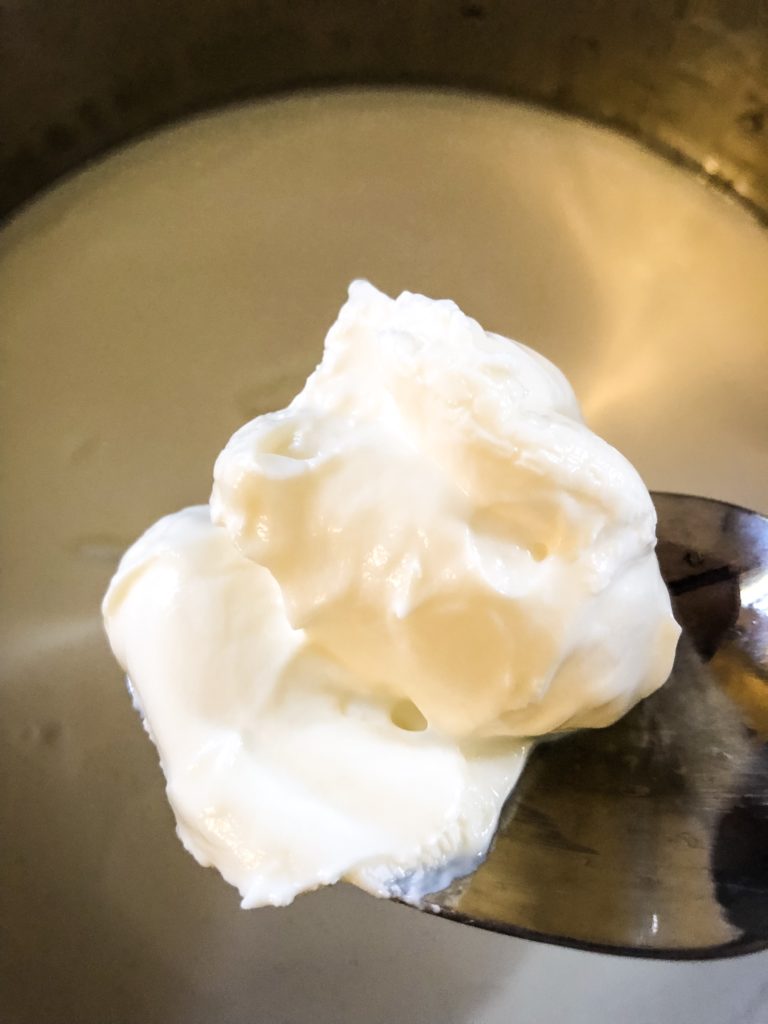
By morning, you will have thick, smooth, and creamy yogurt. You can leave it in your IP, scoop it all into a large bowl, or dip it into smaller containers so that it’s ready to grab and eat.
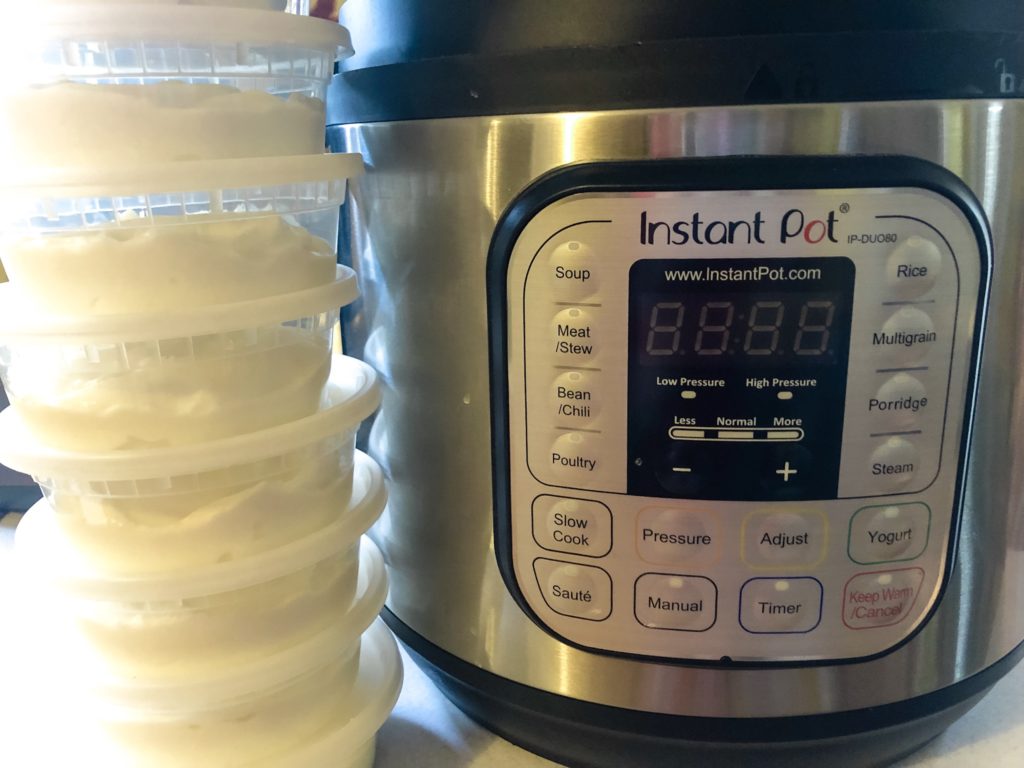
I scoop it into these small 8 oz containers so Dustin can grab one for his breakfast in the mornings.

They are the perfect size! This recipe will make enough yogurt to fill 10-15 of these containers up depending on how much you put in there.
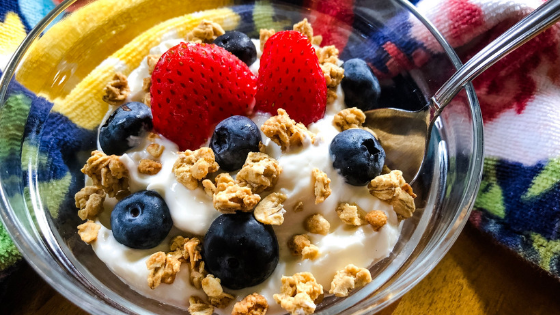
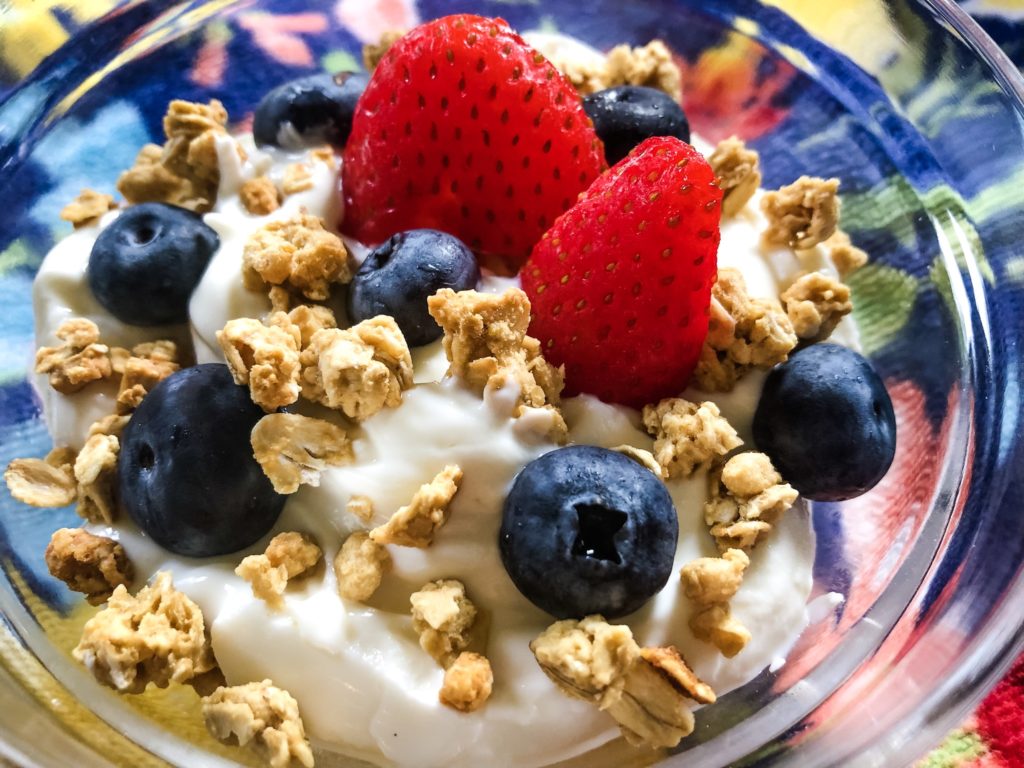
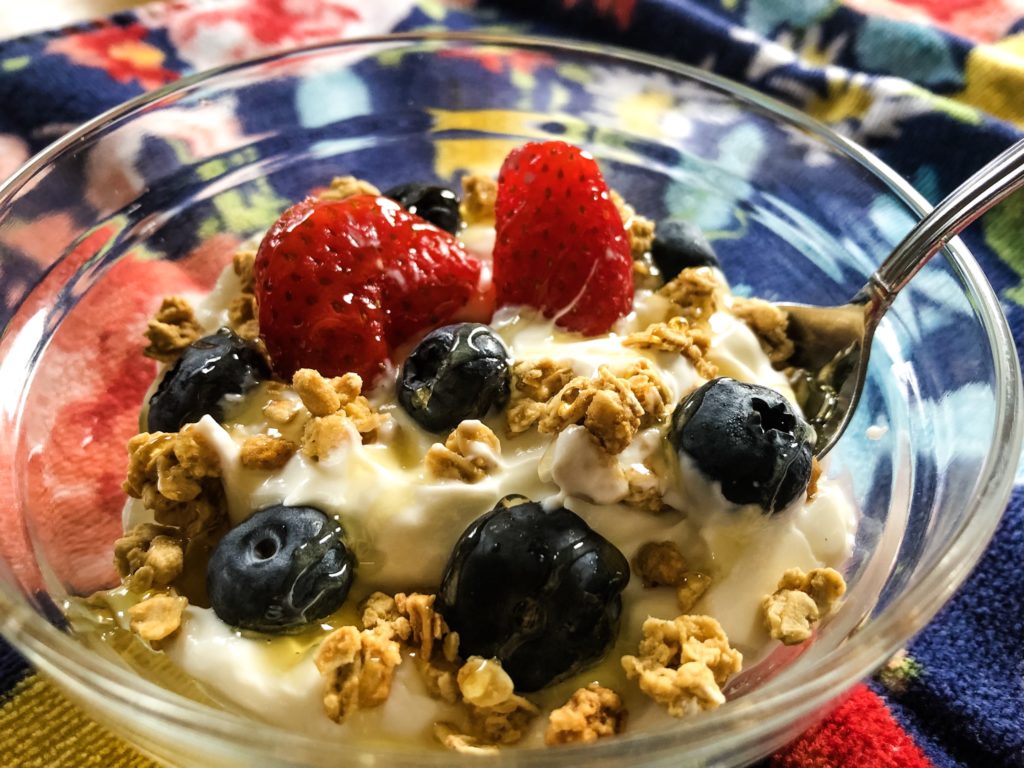
I keep frozen blueberries in the freezer and just scoop some out into another small container, along with some granola for him to add to it when he’s ready to eat it. Click here to find out how to freeze fresh blueberries. When I eat it at home, I add fruit, granola, and a drizzle of honey. It is seriously the best! You will never get store bought yogurt again.
After you have made your first batch, be sure to scoop 2 heaping Tablespoons of the yogurt into a small container to use for making the next batch (that way you don’t have to buy another container of yogurt when you go to make it again). This will be your new yogurt starter. If you plan on making it again soon (within the next couple of weeks), you can refrigerate it until you’re ready for it. If not, you can also freeze it. Just place it in the freezer, and when you’re ready to make your next batch, put it in the refrigerator the night before to thaw it out. Add a little of your ultra-filtered milk to it when you’re ready to make it in the morning to help it dissolve more and then make your yogurt as usual.
Let’s compare the price of making this yogurt yourself vs. buying it at the store. Prices will vary depending on what kind of yogurt from the store you normally buy, and the price of ingredients for making your own, but this is a good estimation to give you an idea.
This math is based off of when I first made it and it’s still roughly the same. I calculated it for filling up 10 (8oz) containers.
Total cost to make first batch of IP Yogurt (milk, yogurt starter, and SCM) with tax= $5.66
Approximate cost per container of yogurt= $0.56
Okay, now that you’ve made your first batch, you’re saving a couple of tablespoons to make your next batch, right? So, that means the next time you go to the store to grab what you need, you only need the milk and SCM (if you’re using it). Here are the new calculations:
Total cost to make 2nd batch of IP Yogurt using yogurt starter from the first batch (with tax)= $4.71
Approximate cost per container of yogurt=$0.47
Again, this is including SCM. If you’re only using milk and yogurt starter, then you will be saving even more money.
If you were to buy that much yogurt from the store (again, depending on the brand, type, and local prices), you would spend approximately $10 or more, or about $1.00 per container of yogurt. It’s not a huge difference, but over time, spending that much on yogurt will start to add up. Not only that, but making your own just tastes good and the quality is so much better.
If you try making your own Instant Pot Yogurt, let me know you like it below in the comments!
You may also like:
- How to Freeze Fresh Blueberries
- Breakfast Egg Muffins
- No-Bake Protein Energy Bites
- Best Banana Bread
- No Bake Berries & Cream Cake
- Instant Pot Smothered Pork Chops

Perfect Instant Pot Yogurt: Cold Start Method
Ingredients
- 2 heaping tablespoons of starter yogurt (any yogurt that contains LIVE ACTIVE CULTURES) I use Chobani plain non-fat greek yogurt.
- 52 fl oz Fairlife whole ultra-filtered milk
- 1 can sweetened condensed milk optional
Instructions
- Mix a little of the Fairlife milk with the starter yogurt until smooth. You can do this in a small bowl, or right in your Instant Pot.
- If using a small bowl, pour the mixture into your Instant Pot along with the rest of the milk.
- Add the sweetened condensed milk (if using), and whisk all ingredients together until mixed well. It will be foamy.
- You can either place the Instant Pot lid, or a regular pot lid that fits on the Instant Pot. We are not pressure cooking, so you don't need to worry about sealing the valve.
- Press the "Yogurt" button on your Instant Pot. It should automatically set itself to 8 hours. You can add more time if you'd like, just remember the longer you set it for, the more tart it will taste.
- I always set mine for the 8 hours and it turns out great!
- Once it's done, lift the lid and place a papertowel over the pot. Put the lid back on, and place the pot into the refrigerator to cool and set overnight.
- The next morning, the yogurt will be ready to dip and serve.
- Serve with your favorite fruit, granola, and/or honey.
- Be sure to reserve 2 heaping Tablespoons of your fresh yogurt to use in your next batch (see notes).
Notes

2 Comments
Dawn Conklin
It took me quite some time to finally say “yes I am going to try making yogurt!” I felt very intimidated about the process and made myself think that it was something very complicated. Wow was I wrong haha! It doesn’t get any easier, right? I have the whole family eating it homemade now. And every every week we try new things to add into the yogurt – mainly something with fruit tho.
Brittany
I agree! I was the same way. I’m not sure why I was so scared of making it, because it is SO easy! I love fruit in mine too. Thanks for taking the time to stop by Dawn!