
3 Ingredient Sausage Balls
This is one of my favorite breakfast recipes. I make them every now and then for Dustin to take to work as his breakfast, and I also love making them as an appetizer for anything serving finger foods, like baby/wedding showers, parties, or family gatherings. With only 3 ingredients, they are quick, simple, and delicious!
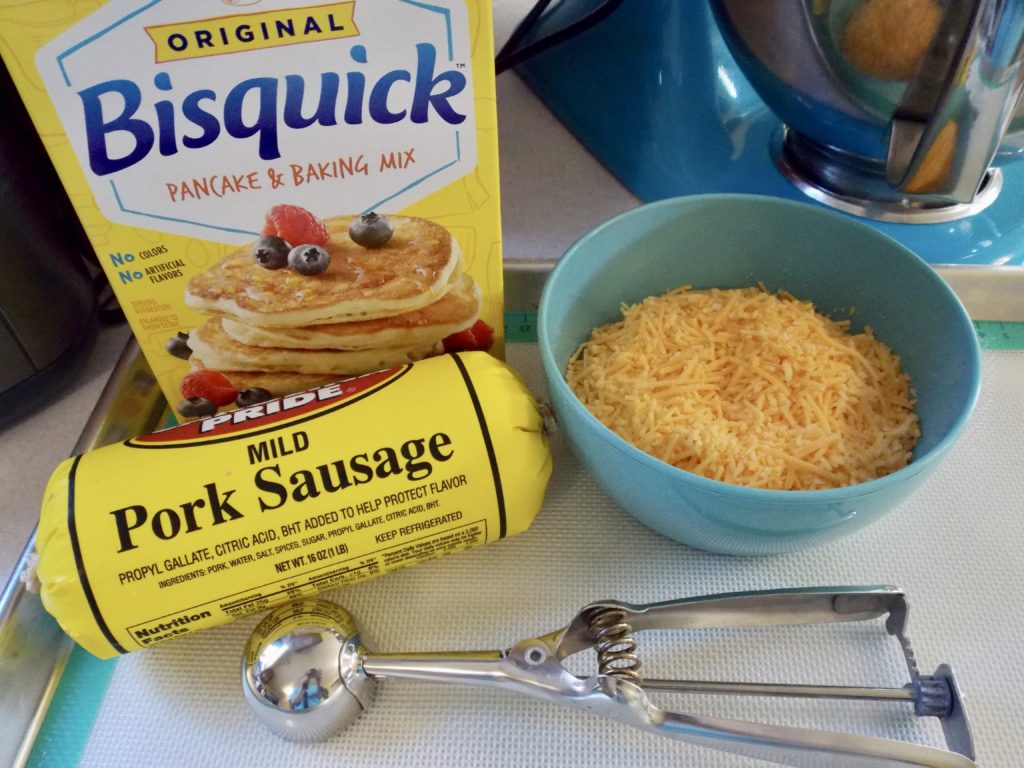
All you need is: baking mix, ground sausage, and shredded cheese. I pretty much always have these in my kitchen, so I can make them whenever we’re in the mood for them. I also have a few tips for a quick and easy clean-up when making these.
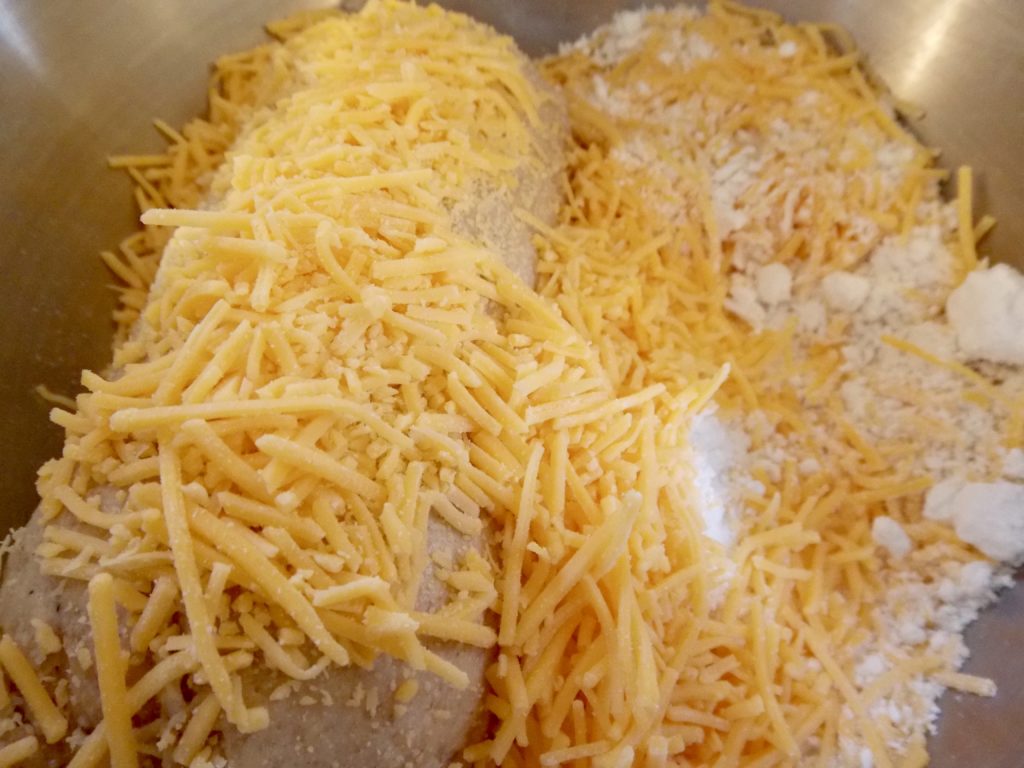
Mix all 3 ingredients together in a large bowl.
*Note: the sausage will be mixed in raw. It will cook in the oven when you bake them, so there is no need to cook it beforehand.
Tip: Use your KitchenAid stand mixer with the paddle attachment to mix everything. This will keep you from getting the sausage all over your hands. If you don’t have a KitchenAid, just throw a pair of gloves on and get to mixing with your hands. I do not recommend using a hand mixer.
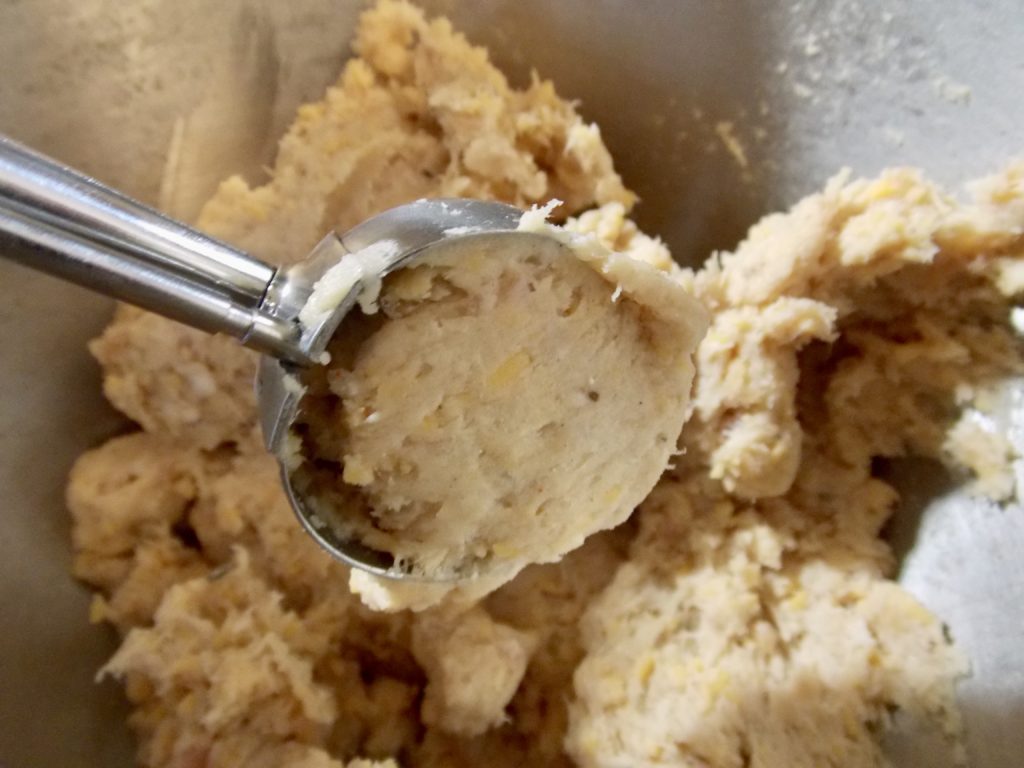
After you have mixed the ingredients together, you need to roll the mixture into 1 to 1 1/2 inch balls.
Tip: Use a small cookie scoop to get even sized sausage balls. They will cook more evenly and it will save your hands from getting messy. The small cookie scoop I use is about 1 1/2 inches wide.
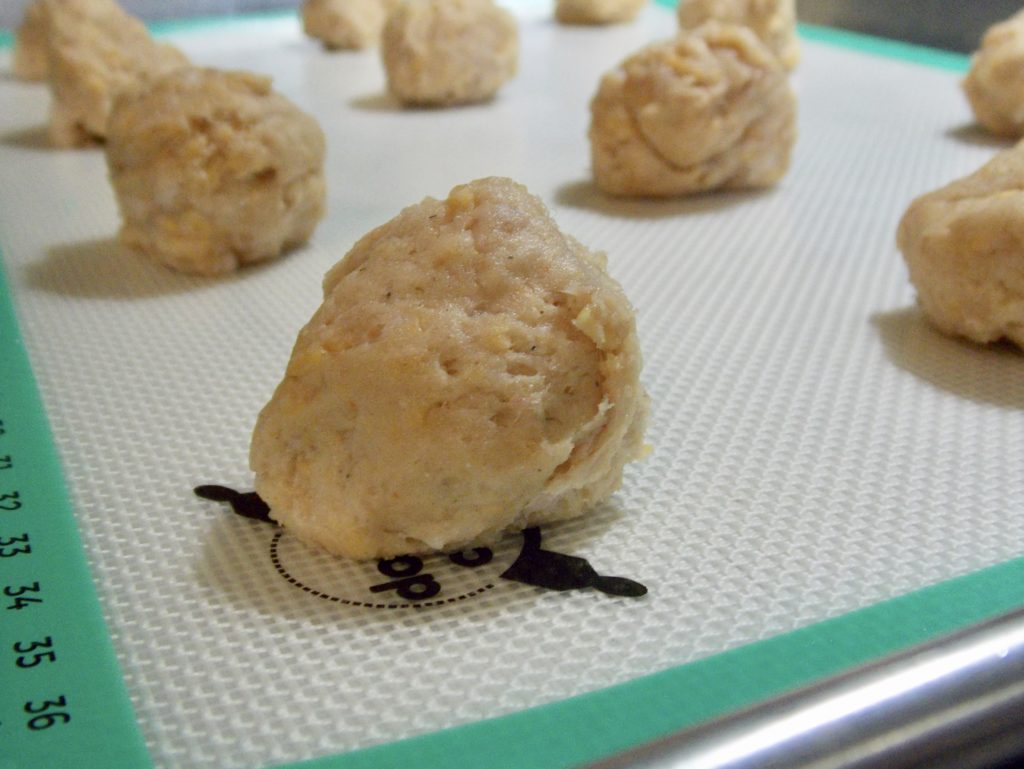
Place each sausage ball about 2 inches apart on a non-stick baking sheet. I just use this silicone baking mat with my favorite sheet pan. If you don’t have one, you can also line your pan with tin-foil to make clean-up easier.
Bake them at 350 degrees F for about 18-20 minutes. Be sure to watch them the last few minutes so you don’t over-bake them. You just want them lightly browned on top and golden on the bottom. If you over-bake them, they will get hard, and you definitely don’t want that. They should be like little tender biscuits.

When they’re finished baking, drain them on paper towels. Serve them immediately and store any leftovers in an airtight container in the refrigerator for a few days.
Can you freeze sausage balls? Yes! Just place the uncooked sausage balls on a baking sheet and place them in the freezer until frozen (check them after about an hour). Once frozen, transfer them to a freezer bag and keep them in the freezer for up to a month. When you’re ready to bake them, take them out of the freezer and let them thaw for about 15-20 minutes. Then bake them for about 18-20 minutes at 350 degrees F.
If you want them to have a little kick, try using hot sausage instead of mild. You can also try using a different kind of cheese if you’d like. I just love sharp cheddar in these.
I use the pre-packaged shredded cheese, because I usually make these on a whim and that’s what I keep in the fridge. However, it’s always better to shred your own! Mine still always turn out fine though with the pre-shredded cheese.
Dustin really likes these with mustard. I prefer grape jelly! They are like eating little sausage and cheese biscuits. I love making these and hope that if you try them, you will love them too!


3 Ingredient Sausage Balls
Ingredients
- 2 cups baking mix I use Bisquick.
- 1 cup sharp cheddar cheese shredded
- 1 lb ground sausage raw
Instructions
- Preheat oven to 350 degrees F.
- Mix all 3 ingredients together.
- Roll mixture into 1 to 1 1/2 inch balls and place about 2 inches apart on nonstick baking sheet.
- Bake for 18 to 20 minutes, or unitl lightly browned.
- Drain on paper towels.
- Serve immediately and store any leftovers in an airtight container in the refrigerator for a few days.
Notes


4 Comments
Judy Edwards
Brittany my family here in Texas all love these sausage balls. I make them often, especially around holidays or for family gatherings. I love your blog and you are doing great with it. ❤️
Brittany
Thank you so much! I’m really enjoying it so far. The sausage balls are a huge hit around here too. They are just so easy and I can never eat just a few.
Verna Carter
I am looking forward to following you Brittany
Brittany
Thanks so much! I hope you enjoy everything!!